How to Draw An Avocado. Avocado is one of the tastiest and most versatile treats you can enjoy! As a bonus, besides being delicious in whatever form, it’s also very good for you.
Also, check our unicorn coloring pages free at our Official Website, The Soft Roots.
Avocados are popular all over the world, and many people enjoy this creamy fruit every day. It also has a simple and distinctive look, and fans of the fruit are welcome to learn how to draw an avocado.
By the end of this guide, you will know everything you need about drawing.
How to Draw An Avocado
Step 1
We will draw two avocados in this first step of our how-to-draw-an-avocado guide. As mentioned in the introduction, the avocado has a simple but distinctive shape, which we’ll recreate in the pattern in this first step.
The shape is round, and as you can see in the reference image, the bottom part is taller and more rounded than the top part, which is slightly narrower.
That’s all for this step, and we will draw the second avocado in the next step.
Step 2
As promised in the previous avocado drawing step, we will draw a second avocado outline in this second part.
This one is very similar in shape to the first one you drew, but it looks a little different since it’s behind the avocado from Step 1.
This takes care of the outlines of the avocados, and we’ll add some extra details and interior elements in the next few steps.
Step 3
We’ll start with some finer details and elements in this step of our how-to-draw-an avocado guide. For this part, we’ll draw a small stem and leaf on the right for the avocado.
You can draw this step with curved lines to create a slightly curved stem with a small circle at the end to indicate where we cut it.
Next, you can draw a simple leaf shape from the stem and add a line down the middle to complete this step.
Step 4
The avocado in the foreground on the right is cut open with the large round seed visible.
We will draw this seed in this part of your avocado drawing, but it will also be a very easy addition! You must draw a simple oval shape in the center of the avocado on the right.
With the seed added, we will add some finishing touches in the next step before coloring the avocado design.
Step 5
Your avocado already looks great, but we’ll add some final touches to improve it in this step of our how-to-draw an avocado guide!
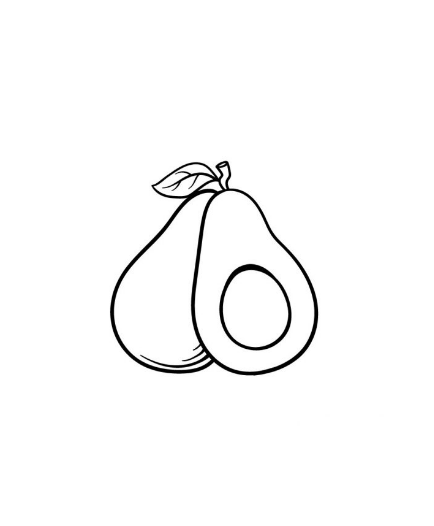
These details will be fairly simple, but they will effectively finish the drawing well. They mainly include some simple curved lines in the avocados to give them some texture detail.
Then you can add veins to the leaf to give it even more realistic detail. This is enough for our details, but feel free to add a few before proceeding.
It could be fun to draw a background. For example, you could have avocados on a plate with another of your favorite foods. You can also draw a line along the inside edge of the avocado on the right side to show where the skin begins and ends.
These are simply a few of the numerous ideas you could try, but have fun, be creative, and see what you can think!
Step 6
This is the last step of your avocado drawing, and here you will have a lot of fun adding some cool colors to your photo!
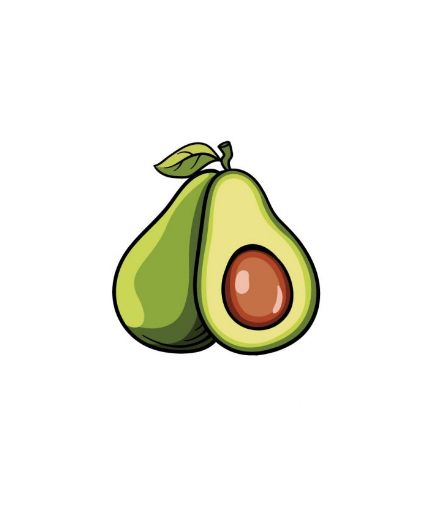
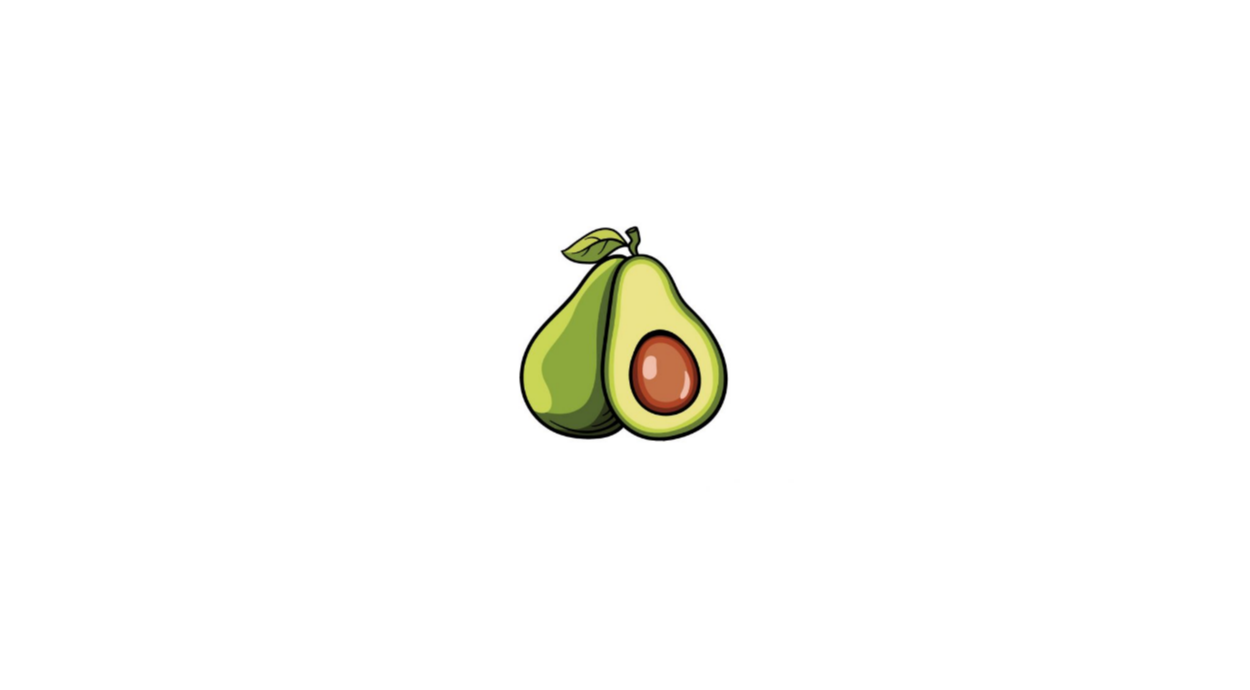
We showed you one way to create this design in our reference image.
We used shades of green for the avocado and brown for the seed and stem. This example image can be a great reference if you want to keep the colors a little more muted and realistic.
However, there are other options you could choose! If you want a more stylistic image, you can use some of your favorite bright colors to complement it.
Depending on the artistic mediums you use to convey your chosen colors, you can also get some great color variations.
Whether you want a bright, striking image or something a little more subdued, there are many ways to bring your vision to life!
Your Avocado Drawing is Finished!