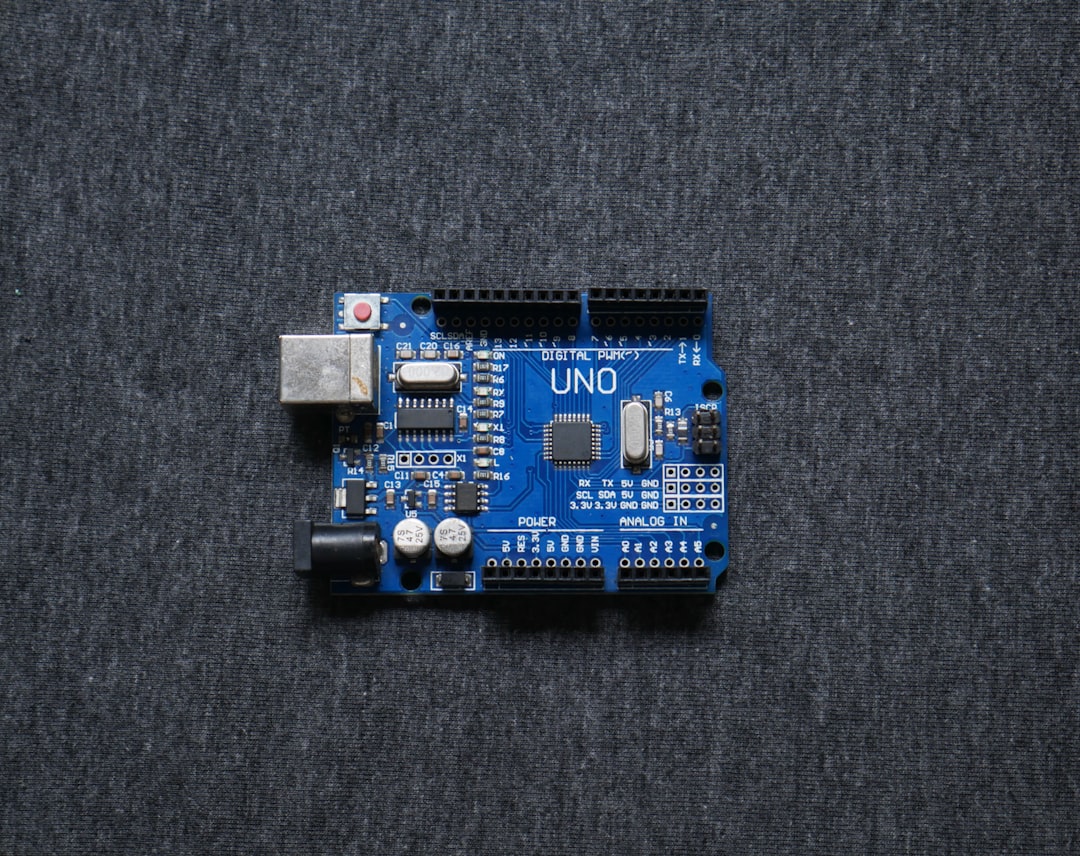
Temperature sensors are a common and useful tool for a variety of applications. They can be used to monitor the temperature in a room or greenhouse, as part of a weather station, or as part of a larger home automation system. In this blog post, we’ll show you how to build a simple temperature sensor using an Arduino Uno board and a temperature sensor.
Materials needed:
-
Arduino Uno board
-
Temperature sensor (such as a TMP36 or DS18B20)
-
Jumper wires
-
Breadboard
-
USB cable
Setting up the hardware:
-
Begin by connecting the temperature sensor to the breadboard. Follow the instructions for your specific temperature sensor to ensure that it is properly connected.
-
Connect the breadboard to the Arduino Uno board using jumper wires.
-
Connect the Arduino Uno board to your computer using the USB cable.
Writing the code:
-
Open the Arduino IDE software on your computer.
-
Create a new sketch and give it a name.
-
Import the necessary libraries for your temperature sensor. For example, if you are using a TMP36 sensor, you will need to include the “AnalogTemp” library.
-
Declare any variables that you will need in your code. For example, you may want to create a variable to store the temperature reading from the sensor.
-
Set up the Arduino board and the temperature sensor in the setup() function. This may include setting the pin mode for the temperature sensor pin, and starting the serial monitor.
-
Write the code to read the temperature from the sensor and display it on the serial monitor in the loop() function. This may involve using a function provided by the library for your temperature sensor to convert the raw sensor reading to a temperature value in degrees Celsius or Fahrenheit.
Testing the temperature sensor:
-
Upload the code to the Arduino Uno board.
-
Open the serial monitor in the Arduino IDE.
-
Observe the temperature readings displayed on the serial monitor.
-
Hold the temperature sensor in your hand or place it in a cup of hot water to see if the temperature readings change.
Potential uses for the temperature sensor:
-
Monitor the temperature in a room or greenhouse.
-
Use the temperature sensor as part of a weather station to measure outdoor temperature.
-
Incorporate the temperature sensor into a larger home automation system to control heating and cooling based on the temperature in a room.
Conclusion:
In this blog post, we’ve shown you how to build a simple temperature sensor using an Arduino Uno board and a temperature sensor. With this project under your belt. You can now use your temperature sensor for a variety of applications. Such as monitoring the temperature in a room or greenhouse, or using it as part of a weather station. We hope you enjoyed this project and encourage you to try building your own temperature sensor with Arduino Uno.
