How to Draw A Balloon. The balloons are only impressive if they’re inflated on a table. But once you put some air in, a world of possibilities opens up!
Also, check our coloring pages for kids.
They are usually found at birthday parties and celebratory events, and we can even turn some into animals.
Although it is fun and everyone loves balloons, learning to draw a balloon can be challenging.
It is not easy to follow a guide, and this guide in front of you will show you how to do it!
We hope you find this step-by-step guide on how to draw a balloon fun and useful!
How to Draw A Balloon
Step 1
To begin this guide to drawing a balloon, let’s start with the top half of the balloon. This balloon will essentially be an oval shape, but freehand drawing an oval can be challenging!
For your convenience, we have divided it into two phases. Working slowly and carefully, it draws the top half of the oval shape as it appears in the reference image.
If it makes it easier for you, you can draw the entire oval with the pencil and then gently trace over the top half with the pencil.
You can also trace any oval shape to make it easier!
Step 2
We designed the first half of the oval in the previous passage and will use the bottom half for your balloon’s design in this one!
So expand the oval down to reflect the first half. This will end the ball of the ball, but there are some alternative ways to end the ball as well.
You could make it longer than our reference picture for an idea or create a new fun shape! Whatever approach you choose, you’re ready for the next step.
Step 3
This next part of our guide on how to draw a comic is very simple, so you shouldn’t have any problem completing it.
Now that you’ve drawn the balloon’s oval, you only have to draw a very small and rounded shape on the ground. This will form the tied neck of the balloon, which we will add later.
Step 4
You drew the neck of the balloon in the previous step, and you’re ready to finish it in this part of your balloon design!
To add this last part, you can add a shape with lines from the comic.
So you can use a small wavy line at the bottom of this shape to create the balloon’s floppy neck. That’s all there is to do for this step, and you’re ready to continue!
Step 5
In this passage of our guide on how to draw a balloon, we will finish the last element. You also have the option to add some of your details and elements to the image!
Let’s focus on the last part of this design before adding some additional details.
All you have to do in this step is trace a line from the neck of the balloon. We made our line perfectly straight, but you can make it wavy.
This line will finish your balloon’s design nicely, but there are ways to customize this drawing before it emerges!
Some examples include text or a drawing on the balloon to commemorate a birthday! If you did, you could use this image as a greeting card for someone.
You could also change the shape of the balloon, draw another bouquet near it, or draw yourself to hold the balloon thread!
There are many creative ways to complete this image. So let your imagination run wild!
Step 6
Now that your balloon is fully designed, you can have fun colouring it for this final step of your balloon design!
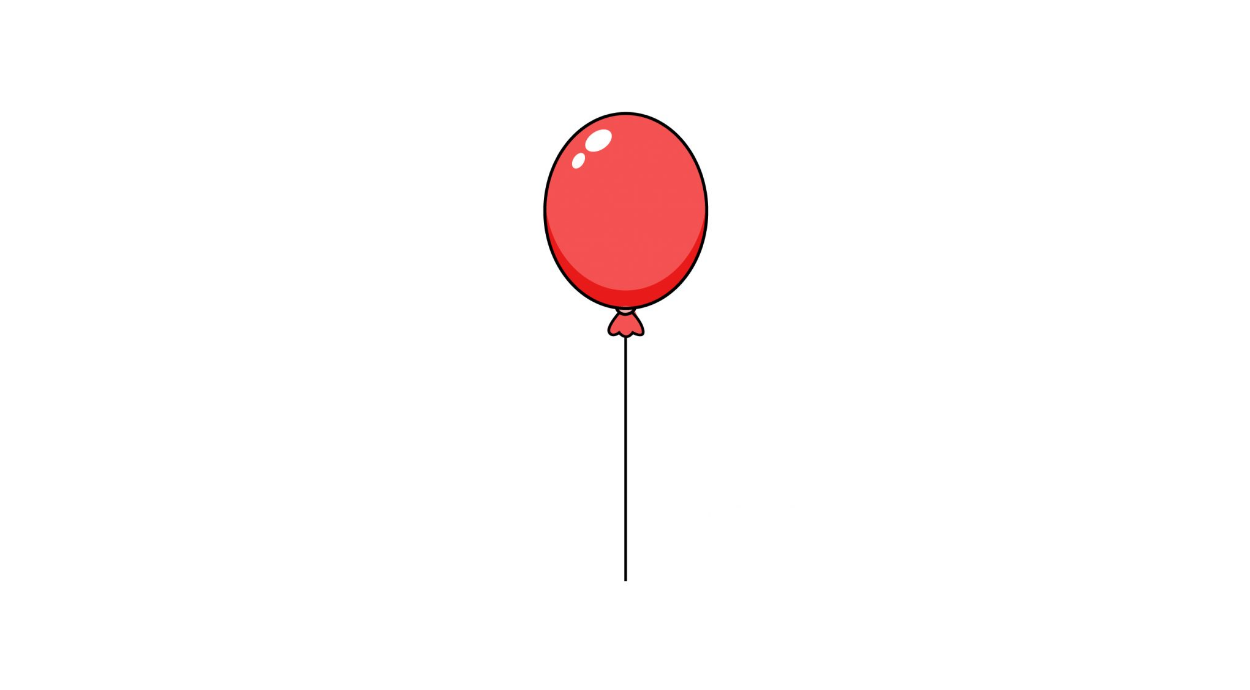
It must be challenging to fill it with a solid colour, and we have shown it in our reference image.
We used a nice red for our balloon design, but we used two shades to give it a little depth.
Use a darker colour in the lower part, clearer in the upper part and leave white spots, causing a sense of depth.
The balloons come in different colours and designs, so feel free to use any colours you like!
The balloons are often very bright and cheerful. So if you want this look for your balloon design, you can use some means like paints, coloured pencils or bright colour markers!
Your Balloon Drawing is Finished!