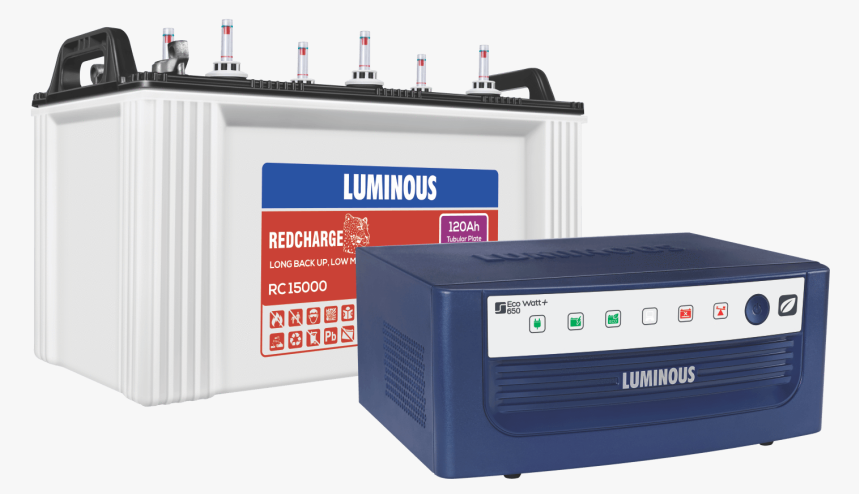
Inverters are devices that convert the direct current (DC) into alternating current (AC). They are commonly used in areas where grid power is not available, such as remote locations, camping sites, and emergencies. While there are many commercially available inverters on the market, it is also possible to create a locally-made inverter with ease. In this article, we will walk you through the process of creating your inverter from scratch. You can teach more technology news on premobiles.com.
Step 1: Gather Materials
The first step in creating a locally-made inverter is to gather all the necessary materials. You will need a transformer, transistors, capacitors, resistors, diodes, a heat sink, a printed circuit board (PCB), and a soldering iron. You can purchase these materials from your local electronics store or order them online.
Step 2: Design the Circuit
The next step is to design the circuit for your inverter. You can use software like Proteus or Eagle PCB to create a schematic and a printed circuit board (PCB) layout. Your circuit should include a transformer, which will step up the voltage from the DC input to the AC output. It should also include transistors, which will switch the DC input on and off to create the AC output, and capacitors and resistors, which will help to regulate the output voltage and current.
Step 3: Assemble the Components
Once you have designed your circuit, it’s time to assemble the components. Start by soldering the components onto the PCB, following the layout that you created in step 2. Be sure to use the correct type and rating of components, and follow the manufacturer’s instructions for soldering.
Step 4: Test the Inverter
After assembling the components, it’s time to test your inverter. Connect the DC input to a battery or power supply, and connect the AC output to a load, such as a light bulb or fan. Turn on the DC input, and your load should start to operate. If your load does not work or the output voltage is incorrect, you may need to troubleshoot your circuit and make adjustments. MyAccountAccess Login
Step 5: Enclose the Inverter
Once you have confirmed that your inverter is working correctly, it’s time to enclose it. You can use a plastic or metal case to protect the components and provide a safe and convenient way to use the inverter. Be sure to include ventilation holes to allow heat to escape, and to provide access to the input and output connectors.
Conclusion
In conclusion, creating a locally-made inverter is not a complicated task. But it does require some knowledge of electronics and soldering. By following the steps outlined in this article, you can create your inverter with ease and start enjoying the benefits of off-grid power. Remember to always follow safety precautions when working with electronics, and to consult with an expert if you are unsure about any aspect of the process.