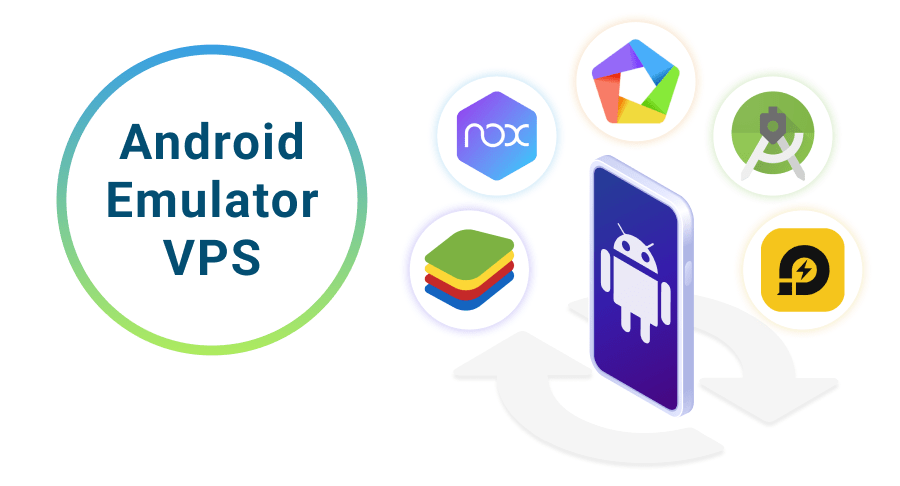
As mobile apps continue to gain popularity, it’s becoming increasingly important for developers to test their apps on various devices and operating systems. However, not everyone has access to a wide range of devices for testing purposes. Fortunately, with Android emulators, developers can simulate an Android environment on their computer. But what if you need to run an Android emulator on a Windows VPS? In this article, we’ll explore the benefits of using an Android emulator on a Windows VPS and how to get started.
Benefits of Using an Android Emulator on a Windows VPS
There are several benefits to using an Android emulator on a Windows VPS, including:
Cost Savings:
By using a Windows VPS for Android emulation, you can avoid the cost of purchasing and maintaining physical devices.
Scalability:
A Windows VPS can be easily scaled up or down to meet the needs of your project, providing flexibility as your app development needs change.
Remote Access:
With a Windows VPS, you can access your Android emulator from anywhere, making it easy to work remotely or collaborate with team members who may be in different locations.
Getting Started with Android Emulation on a Windows VPS
Here are the steps you can follow to set up an android emulator for windows vps:
- Step 1: Choose a VPS provider that supports Android emulation. Not all VPS providers offer the ability to run an Android emulator, so it’s important to choose a provider that supports it. Petrosky is one such provider that offers Android VPS hosting.
- Step 2: Install a hypervisor on your Windows VPS. A hypervisor is a type of virtualization software that allows you to create and manage virtual machines on your Windows VPS. Some popular hypervisors include VirtualBox, VMware, and Hyper-V.
- Step 3: Download and install an Android emulator on your virtual machine. There are several Android emulators available, including the official Android Emulator from Google, Genymotion, and BlueStacks. Choose the one that best meets your needs and follow the installation instructions.
- Step 4: Configure the Android emulator. Once the emulator is installed, you’ll need to configure it to run on your Windows VPS. This may involve setting up networking, adjusting display settings, and installing any necessary drivers.
- Step 5: Install and test your app. With your Android emulator up and running, you can now install and test your app just as you would on a physical Android device.
Best Practices for Using an Android Emulator on a Windows VPS
To get the most out of your Android Emulator Hosting on a Windows VPS, there are some best practices you should follow:
Choose a VPS provider with adequate resources. Running an Android emulator can be resource-intensive, so it’s important to choose a VPS provider that offers sufficient CPU, memory, and storage resources to support your needs.
Keep your emulator up-to-date. Just like physical devices, Android emulators receive updates that can improve performance and security. Make sure to regularly update your emulator to take advantage of these improvements.
Optimize your virtual machine settings. Adjusting the settings of your virtual machine can help improve the performance of your Android emulator. This may include allocating more CPU or memory resources to the emulator, adjusting the display settings, or disabling unnecessary services.
Conclusion
Using an Android emulator on a Windows VPS can be a cost-effective and scalable solution for app development and testing. By following best practices and choosing a VPS provider that supports Android emulation, you can easily simulate an Android environment on your Windows VPS and test your apps just as you would on a physical device. With the ability to access your Android emulator from
